

There are few desserts as deceptively simple yet profoundly satisfying as a perfect flourless chocolate cake. It’s the dessert you make when you want to impress without a fuss, when you need a guaranteed showstopper that accommodates dietary needs, or when you simply crave the pure, unadulterated essence of chocolate. Forget dry, crumbly cakes—this is a different beast entirely.
Imagine a dessert with the soul of a truffle and the elegance of a classic torte: a crisp, paper-thin crust giving way to an interior that’s dense, fudgy, and melts luxuriously on the tongue. It’s rich without being heavy, sophisticated yet straightforward to prepare. As a chef who has plated thousands of desserts, I can tell you this recipe, honed through rigorous testing, delivers that professional-quality result every single time.
Let’s create some chocolate magic.
This cake isn’t just another dessert; it’s a masterclass in minimalist baking where every ingredient plays a critical role. Here’s why it will become your go-to elegant treat.
- Gluten-Free by Nature: With no flour or alternative starches needed, this cake is inherently and deliciously gluten-free, making it perfect for sharing with friends and family who have dietary restrictions.
- Intense Chocolate Flavor: By using high-quality bittersweet chocolate as the star, you get a deep, complex chocolate taste that’s far superior to cakes relying solely on cocoa powder.
- Foolproof Elegance: Its rustic, crackly top and dense texture look professionally impressive, yet the method is straightforward and forgiving—no layers to frost or delicate crumb to worry about.
- Make-Ahead Perfection: This cake actually improves in flavor and texture after resting for a day, making it the ultimate stress-free dessert for dinner parties and holidays.
- Minimal Ingredients: You likely have most of these pantry staples already: chocolate, butter, eggs, sugar, and vanilla. It’s luxury from simplicity.
- Versatile Canvas: Enjoy it plain, dusted with cocoa, or dressed up with berries, whipped cream, or a caramel drizzle. It adapts to any occasion.
Recommended Tools for This Recipe
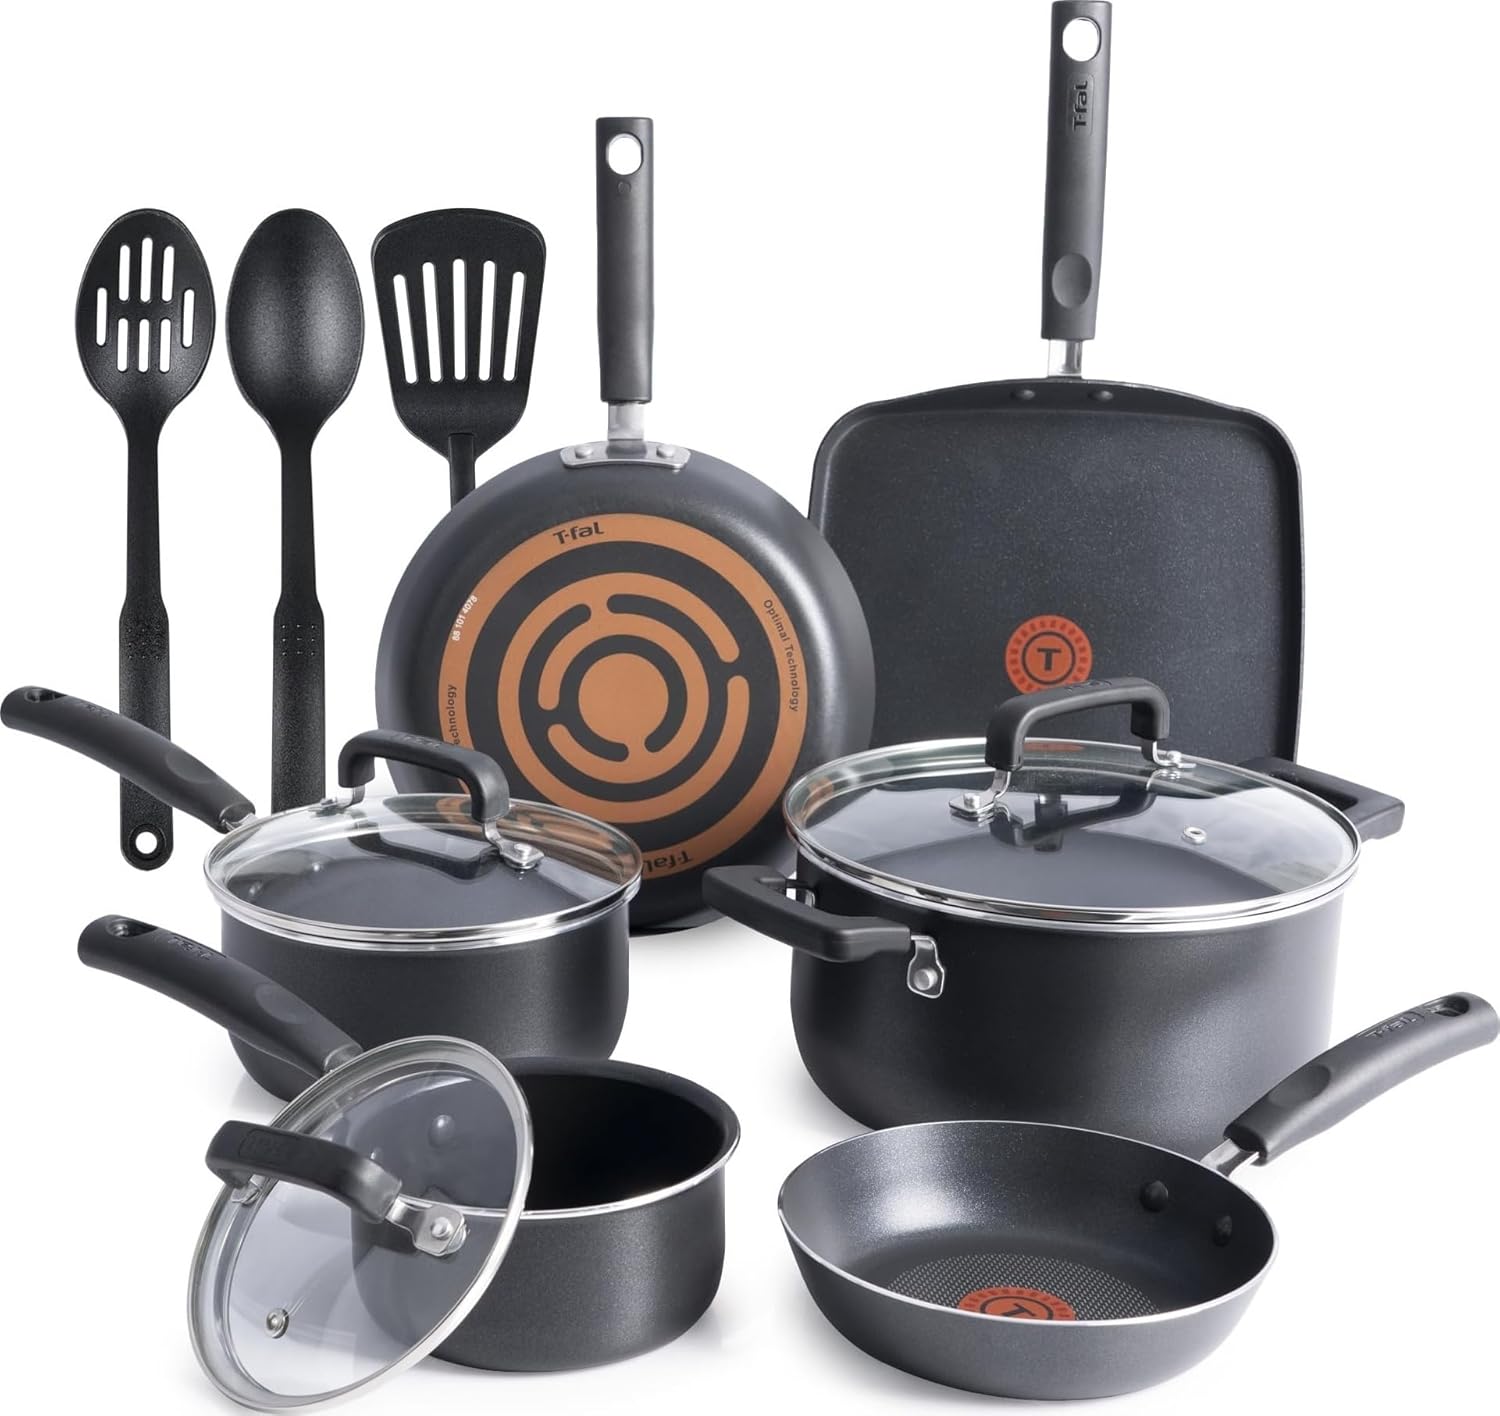


As an Amazon Associate, we may earn a small commission from qualifying purchases — at no extra cost to you.
Ingredients You’ll Need
- Let’s gather our ingredients. The magic of this cake lies in the quality and balance of just a few key players. Using the best chocolate you can find is non-negotiable here—it is the primary flavor, so it needs to be one you love eating on its own.
- Bittersweet Chocolate (60-70% Cacao): This is the heart of the cake. I recommend a bar chocolate over chips for a cleaner melt and superior flavor. The 60-70% range provides perfect balance: rich chocolate intensity without excessive bitterness.
- Unsalted Butter: It adds incredible richness and a velvety mouthfeel. Using unsalted allows you to control the seasoning precisely.
- Granulated Sugar: Sweetens the cake and, crucially, helps stabilize the whipped egg whites and create that beautiful crust.
- Large Eggs (Room Temperature): They are the only leavening agent and provide the cake’s structure. Room temperature eggs whip to a greater volume, which is essential for the cake’s lift.
- Pure Vanilla Extract & Fine Sea Salt: These enhance and round out the chocolate flavor. The salt is vital for cutting the sweetness and making the chocolate taste more pronounced.
- Unsweetened Cocoa Powder: We use this for dusting the pan (instead of flour) to guarantee a flawless, gluten-free release and for a final decorative touch.

Note: You’ll find the complete list of ingredients, along with their exact measurements, in the printable recipe card at the bottom of this post.
Kitchen Equipment Needed
You don’t need any specialty gadgets, but a few key tools will make the process seamless. A 9-inch springform pan is essential—its removable sides are the only way to cleanly extract this delicate cake. You’ll also need a double boiler setup (or a heatproof bowl over a saucepan) for gently melting the chocolate and butter.
A stand mixer or hand mixer is highly recommended for beating the egg whites to stiff peaks efficiently. Finally, have a whisk, spatula, and fine-mesh sieve (for dusting) on hand. That’s really all it takes.
How to Make Flourless Chocolate Cake Recipe
Step 1: Prepare the Pan
Precision starts here. Preheat your oven to 300°F (150°C)—the lower temperature is key for even cooking without drying out the edges. Take your springform pan and be generous with the butter on the bottom and sides.
Place a round of parchment on the bottom and butter that too. Now, add a couple tablespoons of cocoa powder to the pan and shake, tilt, and tap it until every buttered surface is coated. Tap out the excess.
This cocoa coating acts as a non-stick barrier and adds a hint of extra chocolate flavor, unlike flour which can leave a white residue. Trust me, this step ensures your beautiful cake slides out without a fight.
Step 2: Melt the Chocolate and Butter
Create a double boiler by bringing an inch of water to a bare simmer in a saucepan, then setting a heatproof bowl on top, ensuring the bowl doesn’t touch the water. Add your chopped chocolate and butter. The gentle, indirect heat melts them together slowly and evenly, preventing the chocolate from seizing or burning.
Stir frequently until the mixture is utterly smooth and glossy. Remove it from the heat and stir in the vanilla and salt. Let this glorious mixture cool for about 10 minutes.
If it’s too hot when added to the eggs, it will cook them, so this cooling period is crucial.
Step 3: Whip the Yolks and Sugar
While the chocolate cools, separate your eggs. Place the whites in your impeccably clean mixer bowl (any trace of fat will prevent them from whipping). In a separate large bowl, combine the yolks and sugar.
Now, whisk them by hand with vigor for a good 2-3 minutes. You’re looking for the mixture to turn pale yellow, thicken significantly, and fall from the whisk in a slow ribbon that holds its shape for a moment on the surface. This “ribbon stage” incorporates air and dissolves the sugar, which contributes to the cake’s fine texture.
Believe me, this bit of elbow grease pays off.
Step 4: Combine Chocolate and Yolks
Now, we temper. Slowly pour the warm (not hot) chocolate mixture into the yolk mixture while whisking constantly. This gradual introduction prevents the heat from the chocolate from scrambling the eggs.
Whisk until you have a uniformly thick, dark, and silky batter. Set this aside while you tackle the egg whites. You’ll notice the batter is already incredibly lush and promising.
Step 5: Fold in the Whipped Egg Whites
Here’s where we incorporate the lift. Using your mixer with the whisk attachment, beat the room temperature egg whites on medium-high speed until they form stiff, glossy peaks. They should hold their shape firmly when you lift the whisk.
Tip from me: Do not overbeat to a dry, crumbly state. Now, use a flexible spatula to gently fold about one-third of the whipped whites into the chocolate batter. This first addition lightens the dense batter.
Then, carefully fold in the remaining whites just until no white streaks remain. Be gentle and patient—you want to preserve as much of that air as possible. This technique is what gives the cake its unique combination of density and lightness.
Step 6: Bake, Cool, and Serve
Pour the batter into your prepared pan and gently smooth the top. Bake on the center rack for 40-45 minutes. The cake is done when the top is set and has a fine, crackly crust, and a toothpick inserted near the edge comes out with a few moist crumbs.
The center will still look soft and may jiggle slightly—this is perfect; it will set as it cools. Let the cake cool completely in the pan on a wire rack. As it cools, it will sink in the center and develop more dramatic cracks, which is part of its charm.
Once cool, run a thin knife around the edge, release the springform clasp, and carefully transfer the cake to a serving plate. Step back and admire your creation. A final dusting of cocoa powder through a sieve is the perfect, simple finish.
A few chef-driven insights will elevate your cake from good to exceptional.
- Chocolate Quality is Paramount: This cake is a direct reflection of your chocolate. Taste it first. A high-quality bar with 60-70% cacao offers the best balance of flavor and structure. Cheap chocolate can result in a greasy or waxy texture.
- The Room Temperature Egg Rule: This is non-negotiable for maximum volume. Cold egg whites won’t whip as fully, leading to a denser cake. To quickly bring eggs to room temperature, place them in a bowl of warm (not hot) water for 5-10 minutes.
- Fold, Don’t Stir: When incorporating the egg whites, use a broad, gentle folding motion with a spatula, scraping from the bottom of the bowl up and over the top. This preserves the air bubbles. Deflating the whites here is the most common mistake.
- Don’t Overbake: The cake continues to set from residual heat as it cools. Overbaking will rob it of its fudgy, moist interior. Look for the set edges and soft center as your guide.
- Cool Completely Before Cutting: I know it’s tempting, but cutting into a warm flourless cake is a recipe for a crumbly mess. Let it cool to room temperature, or even chill it briefly, for the cleanest, most beautiful slices.
Recipe Variations & Customizations
- The classic version is sublime, but this cake is a wonderful base for creativity. Here are some tested variations I love.
- Espresso Flourless Cake: Add 1-2 tablespoons of instant espresso powder or finely ground coffee to the chocolate-butter mixture as it melts. The coffee doesn’t make it taste like coffee; it deepens and amplifies the chocolate flavor incredibly.
- Orange Chocolate Cake: Add the zest of one large orange to the sugar before whisking it with the egg yolks. The bright citrus oil cuts through the richness beautifully. A tablespoon of Grand Marnier in the batter is a lovely adult addition.
- Salted Caramel Swirl: Before baking, drizzle 1/3 cup of thick salted caramel sauce over the batter in the pan and use a knife or skewer to swirl it gently. You’ll get pockets of gooey, salty-sweet caramel throughout.
- Chocolate-Hazelnut Variation: Replace 1/4 cup of the granulated sugar with an equal amount of finely ground toasted hazelnuts (hazelnut flour). Fold 1/2 cup of chopped toasted hazelnuts into the batter just before pouring it into the pan.
- Mint Chocolate Chip: Add 1/2 teaspoon of pure peppermint extract with the vanilla. Fold in 1/3 cup of mini chocolate chips (ensure they’re gluten-free if needed) with the final addition of egg whites.
- Dairy-Free Adaptation: Use a high-quality, plain dairy-free butter stick (I’ve tested with Miyoko’s and Flora brands successfully) and ensure your chocolate is dairy-free (many dark chocolates are).
What to Serve With This Recipe
This rich cake needs little adornment, but the right accompaniment can create a perfect balance. A lightly sweetened whipped cream or crème fraîche is my top choice—the cool, creamy tang provides a lovely contrast. Fresh raspberries, strawberries, or a berry coulis offer a bright, acidic note that complements the deep chocolate.
For a dinner party, a scoop of vanilla bean ice cream or coffee ice cream alongside a warm slice is pure heaven. In terms of drinks, pair it with a bold red wine like a Cabernet Sauvignon, a tawny port, or a simple cup of strong black coffee or espresso. It’s the ideal finale to a rich meal or a stunning centerpiece for a holiday dessert table.
Storage & Make-Ahead Instructions
- This cake’s make-ahead nature is one of its greatest assets.
- Storage: Once completely cool, cover the cake tightly with plastic wrap or place it in an airtight container. It will keep at room temperature for up to 2 days or in the refrigerator for up to 5 days. The texture becomes even more fudgy and the flavors more blended overnight.
- Freezing: This cake freezes beautifully. Wrap the cooled cake (or individual slices) tightly in plastic wrap, then in a layer of aluminum foil or place in a freezer bag. Freeze for up to 3 months. Thaw overnight in the refrigerator or at room temperature for a few hours.
- Serving After Storage: If refrigerated, let the cake sit at room temperature for an hour before serving for the best texture and flavor. You can dust with fresh cocoa powder or powdered sugar just before serving.
Frequently Asked Questions
Q: Can I use milk chocolate or semi-sweet chocolate chips?
A: I don’t recommend it. Milk chocolate has more sugar and dairy, which can throw off the texture and make the cake overly sweet and soft. Semi-sweet chips often contain stabilizers that prevent smooth melting.
Stick with a good quality bittersweet bar for guaranteed results.
Q: My cake sunk a lot in the middle. Did I do something wrong?
A: Not at all! Significant sinking and cracking are characteristic of a flourless chocolate cake. It’s due to the lack of flour for structure and the dense, fudgy texture.
As long as it’s not raw in the center, the sinking is normal and even desirable.
Q: How do I know if the egg whites are at “stiff peaks”?
A: When you lift the whisk or beaters straight up, the peak of egg white should stand upright without curling over at the tip. The whites should look glossy and smooth, not dry or grainy. If you tilt the bowl, they should not slide.
Q: Can I make this without a springform pan?
A: It’s risky. A regular cake pan makes it nearly impossible to remove the delicate cake intact. If you must, line a regular pan with enough parchment paper to create “handles” overhanging the sides, and be extremely gentle when lifting it out.
Q: Is the cake supposed to be gooey in the center?
A: It should be set but very moist and fudgy, not liquid or raw. The toothpick test near the edge is your best guide. If the very center seems a bit underdone, it will continue to set as it cools.
Q: Can I reduce the sugar?
A: You can reduce it by up to 1/4 cup, but be aware sugar contributes to structure, crust formation, and stability of the egg whites. Reducing it more may affect texture and cause more sinking.
Q: Why did my cake turn out grainy?
A: This usually happens if the sugar wasn’t fully dissolved into the egg yolks during the whisking stage, or if the chocolate seized (got watery and grainy) during melting. Ensure you whisk the yolks and sugar to the ribbon stage and melt the chocolate gently.
Final Thoughts
This flourless chocolate cake is more than a recipe; it’s a testament to the power of simple, quality ingredients treated with care. It proves that you don’t need a long list of components or complicated techniques to create a dessert that feels truly special. Whether you’re catering to gluten-free needs, preparing for a celebratory dinner, or simply answering a deep chocolate craving, this cake delivers every time.
Its rich, fudgy interior and elegant, crackled top offer a satisfying contrast that never fails to impress. I encourage you to try it, to experience the simple joy of whisking eggs into ribbons and folding clouds of white into dark chocolate. Once you master this classic, it will earn a permanent spot in your repertoire.
I’d love to hear how it turns out for you—share your creations and any fun variations you try. Now, go preheat that oven and treat yourself to a slice of pure chocolate bliss.

Flourless Chocolate Cake
- Author: Charlotte
- Prep Time: 20 minutes
- Cook Time: 45 minutes
- Total Time: 1 hour 5 minutes
- Yield: 10 servings
- Category: Dessert
- Cuisine: American
Description
An intensely rich, fudgy, and gluten-free chocolate cake made with just five core ingredients. It's a simple yet elegant dessert with a crackly top and a dense, melt-in-your-mouth texture.
Ingredients
Instructions
-
Preheat your oven to 300°F (150°C). Generously butter the bottom and sides of a 9-inch springform pan. Line the bottom with a round of parchment paper and butter the paper. Add 2 tablespoons of cocoa powder to the pan and shake and tap it around until the entire interior is coated. Tap out any excess. This is your insurance policy for a perfect, clean release.
-
Create a double boiler by placing a heatproof bowl over a saucepan of barely simmering water, ensuring the bottom of the bowl doesn't touch the water. Add the chopped chocolate and butter to the bowl. Stir gently and frequently until the mixture is completely smooth and glossy. Remove from the heat, stir in the vanilla and salt, and let it cool slightly for about 10 minutes.
-
While the chocolate cools, separate your eggs. Place the yolks in a large mixing bowl and the whites in the bowl of a stand mixer (or a very clean, grease-free bowl for a hand mixer). Add the sugar to the egg yolks and whisk vigorously by hand for 2-3 minutes until the mixture is pale, thick, and falls from the whisk in a ribbon. This step incorporates air and is key for structure.
-
Temper the egg yolk mixture by slowly pouring the warm (not hot) chocolate mixture into the yolks while whisking constantly. This prevents the eggs from scrambling. Whisk until the batter is completely uniform and silky. Set aside.
-
Using a stand mixer or hand mixer with a whisk attachment, beat the egg whites on medium-high speed until they form stiff, glossy peaks. This should take 3-5 minutes. Do not overbeat until dry. Gently fold one-third of the egg whites into the chocolate batter to lighten it. Then, carefully fold in the remaining whites until no white streaks remain, being careful not to deflate the mixture.
-
Pour the batter into the prepared pan and smooth the top. Bake on the center rack for 40-45 minutes. The cake is done when the top is set and has a delicate, crackly crust, and a toothpick inserted about an inch from the edge comes out with a few moist crumbs. The center will still look slightly soft—this is correct. Let the cake cool completely in the pan on a wire rack. It will sink and crack a bit more as it cools, creating that classic look. Dust with remaining cocoa powder or powdered sugar before serving.
Notes
- Chef's Tips:
- For the cleanest slices, use a hot, dry knife and wipe it clean between cuts.
- The cake tastes even better the next day as the flavors meld. Store covered at room temperature.
- Serve with a dollop of lightly sweetened whipped cream or fresh berries to cut the richness.
- Food Safety:
- Ensure eggs are fresh and properly separated to avoid contamination.
- Cool cake completely before covering to prevent condensation and sogginess.


