

The moment you bite into one of these bars, you understand why they’re a fall classic. It starts with the satisfying crunch of a buttery shortbread crust, gives way to a cool, velvety vanilla cheesecake, then hits the sweet-tart burst of spiced apples, all tied together with ribbons of rich, salty caramel. It’s the essence of autumn in a handheld dessert, combining the cozy comfort of apple pie with the indulgent luxury of cheesecake.
I developed this recipe to be the star of any holiday potluck or cozy weekend baking project, delivering restaurant-quality flavor with clear, reliable steps. Let’s make a dessert that will have everyone asking for the recipe.
This recipe is designed for success and maximum enjoyment. Here’s what makes it special:
- Perfect Texture Harmony: The contrast between the crisp crust, creamy filling, and tender apples creates a truly satisfying bite.
- Make-Ahead Friendly: These bars need to chill for hours, making them the ideal dessert to prepare a day before your event, freeing up your oven and time.
- Elegant Yet Approachable: The layered look is impressive, but the method is straightforward—no water bath or fancy cheesecake techniques required.
- Customizable Flavors: Easily swap the apple variety, adjust the spices, or use a different type of caramel to make it your own.
- Feeds a Crowd: One pan yields 16 generous servings, making it perfect for parties and gatherings.
- Seasonal Celebration: It captures the quintessential flavors of fall in a portable, easy-to-serve format.
Recommended Tools for This Recipe

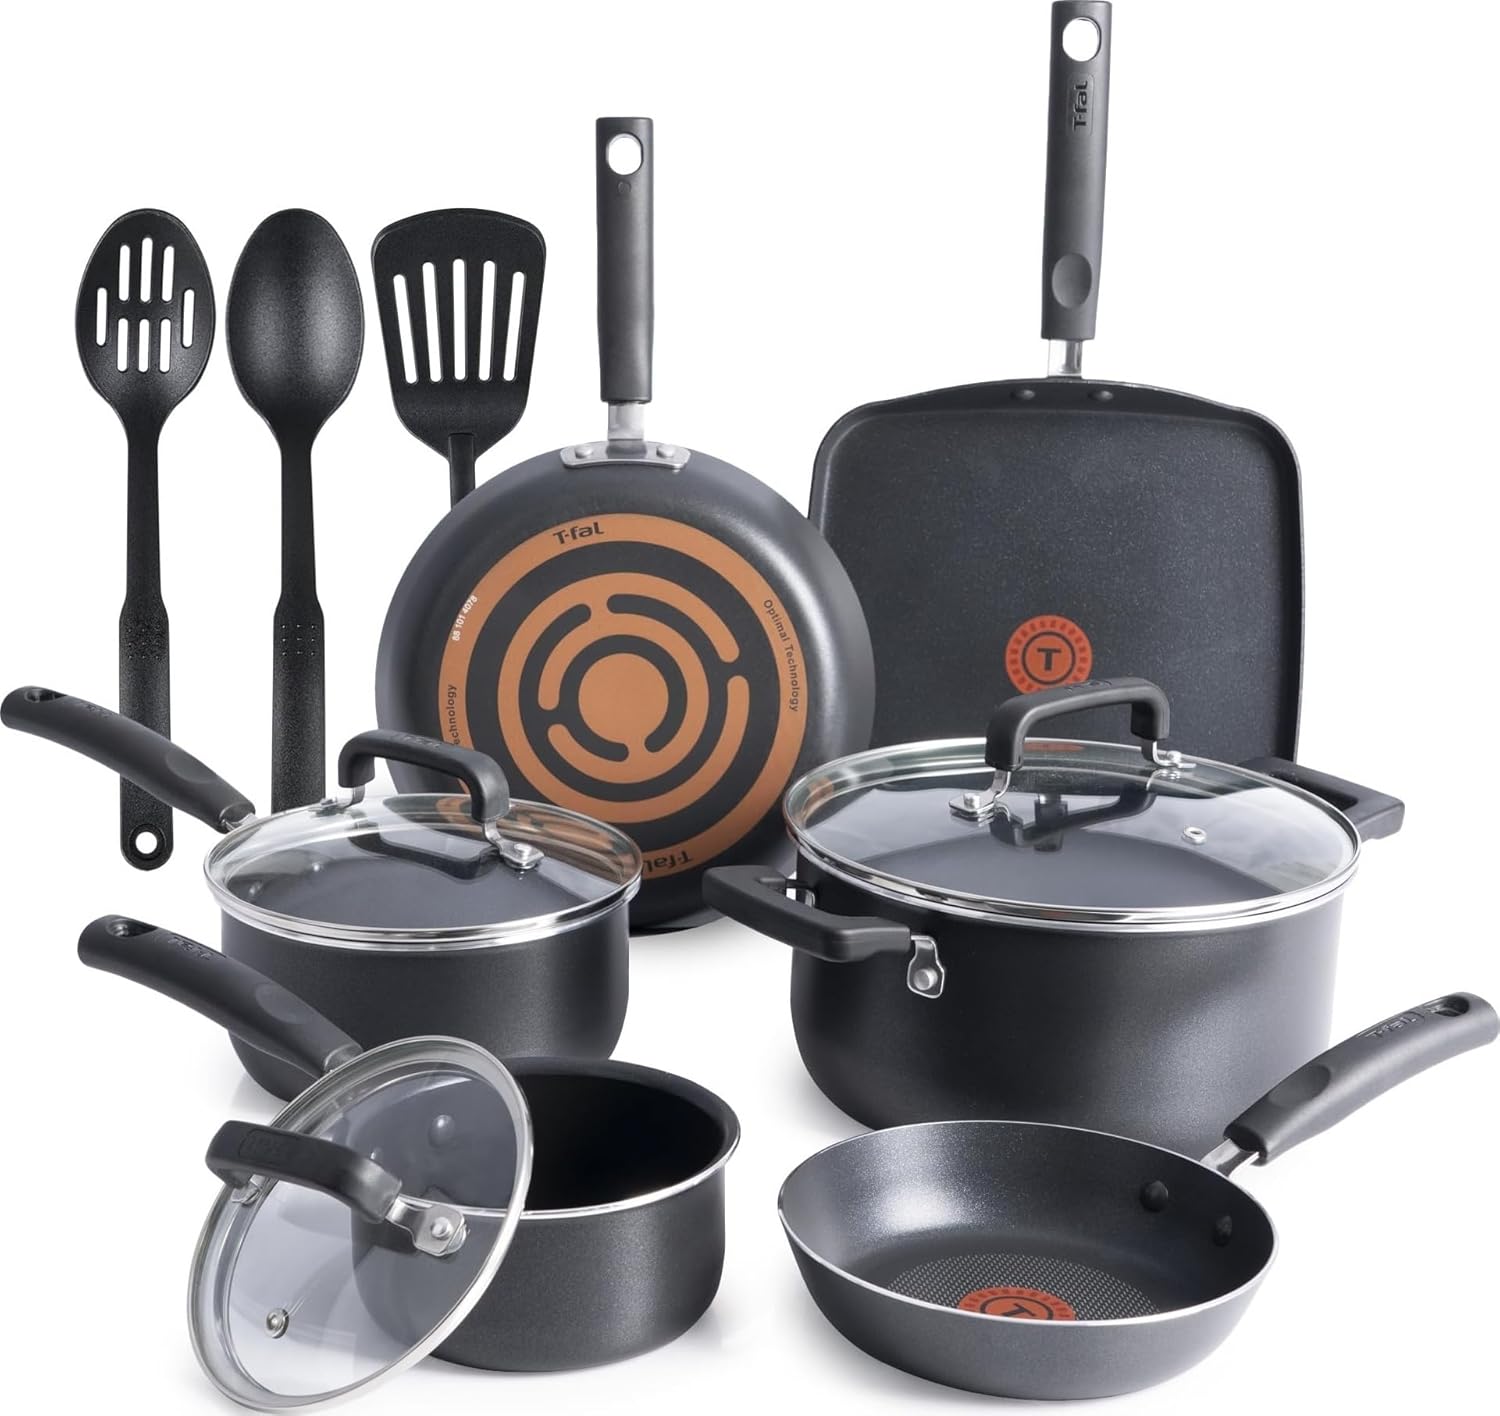

As an Amazon Associate, we may earn a small commission from qualifying purchases — at no extra cost to you.
Ingredients You’ll Need
- Let’s gather our ingredients. This recipe builds flavor in layers, so each component plays a specific role. Using quality, simple ingredients is key to letting those autumnal flavors shine. For the best results, I highly recommend full-fat, brick-style cream cheese for a rich, stable filling and firm, tart Granny Smith apples that hold their shape during baking.
- All-purpose flour: This forms the base of our shortbread crust and helps thicken the apple juices.
- Granulated sugar: Used in both the crust and the cheesecake filling for sweetness and structure.
- Salt: Balances the sweetness in every layer; don’t skip it.
- Unsalted butter: Cold butter is cut into the crust for flakiness, while additional butter cooks the apples.
- Cream cheese: The star of the middle layer. Ensure it’s at room temperature for a perfectly smooth, lump-free filling.
- Eggs: They bind and set the cheesecake filling. Room temperature eggs incorporate more evenly.
- Pure vanilla extract: Use the real stuff for the best flavor in the cheesecake.
- Granny Smith apples: Their firm texture and bright tartness cut through the richness perfectly.
- Light brown sugar: Adds a molasses depth to the spiced apple topping.
- Ground cinnamon & nutmeg: The classic warm spice pairing for the apples.
- Caramel sauce: A good-quality store-bought sauce works wonderfully, or use your favorite homemade recipe.
- Flaky sea salt: An optional but highly recommended garnish that elevates the caramel flavor.

Note: You’ll find the complete list of ingredients, along with their exact measurements, in the printable recipe card at the bottom of this post.
Kitchen Equipment Needed
You don’t need any specialty equipment, but a few key tools will make the process smoother. A 9×13-inch baking pan is essential. Lining it with parchment paper is non-negotiable for clean removal.
A food processor makes quick work of the crust, though a pastry cutter or your fingers will work. A stand mixer or hand mixer is best for achieving a silky cheesecake filling. You’ll also need a medium skillet for cooking the apples and a wire cooling rack.
A sharp chef’s knife and cutting board are, of course, for prepping the apples.
How to Make Caramel Apple Cheesecake Bars Recipe
Step 1: Prepare and Par-Bake the Crust
This first step is all about creating a sturdy, flavorful foundation. By pre-baking (or par-baking) the crust, you create a barrier that prevents the wet cheesecake filling from seeping down and making it soggy. The goal is a texture that’s firm and sandy, holding together when pressed but not fully browned.
When you remove it from the oven, it will look pale and set. Letting it cool slightly before adding the filling is crucial; a scalding-hot crust will start cooking the eggs in the filling on contact. Trust me, this extra step is what separates a good bar from a great one.
Step 2: Make the Creamy Cheesecake Filling
Now for the luxurious middle layer. The single most important factor here is the temperature of your cream cheese and eggs. Cold cream cheese will never become perfectly smooth, leaving you with a lumpy filling.
Beat the softened cream cheese alone first until it’s completely creamy—this takes a full two minutes. Scrape the bowl thoroughly before adding the sugar, and again after adding each egg. This ensures everything is homogenous.
When you pour it over the warm crust, it should be smooth as silk. Tip from me: resist the urge to over-mix once the eggs are in, as this incorporates too much air and can lead to cracking.
Step 3: Cook the Spiced Apple Topping
This step transforms raw apples into a fragrant, pie-ready filling. Cooking them briefly does two things: it softens them just enough so they bake perfectly in the oven without remaining crunchy, and it concentrates their flavor. The tablespoon of flour mixed with the spices is a chef’s trick—it absorbs the apple juices released during baking, preventing a watery layer from forming on top of your cheesecake.
Let the mixture cool for a few minutes before spooning it over the filling; piping hot apples will begin to cook the cheesecake layer beneath.
Step 4: Layer, Swirl, and Assemble
Here’s where the magic happens visually. Spoon the apples evenly over the cheesecake layer, but don’t press or spread them, or you’ll mar the surface. Then, add your caramel sauce in dollops.
The swirling is an art of restraint. Using a knife, make just a few figure-eight motions to drag the caramel down into the apples and cheesecake. You want distinct, beautiful ribbons, not a homogenous brown layer.
Believe me, this creates pockets of gooey caramel in every bite and makes the bars look professionally finished.
Step 5: Bake to Perfection and Cool Completely
Baking cheesecake is a test of patience. The bars are done when the edges are puffed and set, but the center still has a slight, gentle jiggle—like Jell-O—when you tap the pan. It will continue to set as it cools.
Over-baking is the most common mistake and leads to a dry, crumbly texture and surface cracks. Once out of the oven, let the pan cool completely on a wire rack. Then, the mandatory chill time begins.
Refrigerating for at least four hours, or ideally overnight, allows the fats to firm up, guaranteeing you can cut clean, beautiful squares.
Step 6: Slice, Garnish, and Serve
The final, rewarding step. Use the parchment paper “handles” to lift the entire slab onto a cutting board. A long, sharp knife is your best friend here.
For impeccably clean cuts, run the knife under very hot water, wipe it dry, and make your slice. Wipe the blade clean and re-heat it between each cut. This slight extra effort gives you professional-looking bars.
A final drizzle of caramel and a pinch of flaky salt not only looks gorgeous but adds a final hit of flavor. Step back and admire your masterpiece before serving them chilled.
Drawing from years in pastry kitchens, here are the insights that will elevate your bars from good to exceptional.
- Ingredient Temperature is Key: Room temperature cream cheese and eggs are non-negotiable for a smooth, lump-free filling. Take them out at least 1-2 hours before you start.
- The Jiggle Test: Don’t look for a completely firm center when baking. The residual heat will carry-over cook the bars as they cool. A slight jiggle in a 2-inch circle in the center means they’re perfect.
- Prevent a Soggy Bottom: Par-baking the crust is the crucial step that creates a moisture barrier. Don’t rush the initial bake or skip the brief cooling period.
- Clean Cuts: For picture-perfect squares, chill the bars overnight. The long chill sets the structure completely. Use a hot, wet knife and wipe it clean between every single cut.
- Apple Selection: Granny Smith apples are ideal for their tartness and ability to hold shape. If you use a sweeter, softer apple like Fuji, reduce the initial cook time by a minute.
Recipe Variations & Customizations
- This recipe is wonderfully adaptable. Here are some tested variations to suit different tastes and occasions.
- Pecan Streusel Twist: Add a crunchy topping by mixing 1/2 cup chopped pecans, 1/4 cup flour, 1/4 cup brown sugar, and 2 tbsp melted butter. Sprinkle over the apple layer before baking.
- Ginger-Spiced: Add 1/2 teaspoon of ground ginger to the apple spice mix and use a ginger-infused caramel sauce for a warm, zesty flavor profile.
- Gluten-Free Adaptation: Substitute a 1:1 gluten-free all-purpose flour blend for the regular flour in both the crust and the apple topping. The results are excellent.
- Salted Caramel Chocolate: Drizzle the finished bars with melted dark chocolate along with the caramel and use a chocolate shortbread crust by replacing 1/4 cup of flour with cocoa powder.
- Individual Mini Bars: Press the crust into a lined muffin tin, add filling, and reduce baking time to 20-25 minutes for perfect single-serving portions.
- Pear & Cranberry: Substitute diced Bosc pears for apples and add 1/4 cup of dried cranberries to the skillet for a festive, tart twist.
What to Serve With This Recipe
These rich bars are a dessert unto themselves, but thoughtful pairings can create a memorable finale to a meal. They are the perfect centerpiece for a fall holiday dessert table, alongside a scoop of vanilla bean ice cream or a dollop of freshly whipped cream. For a cozy gathering, serve them with mugs of hot spiced cider, strong coffee, or a black tea blend.
If you’re planning a full menu, these bars pair beautifully after a hearty main like roasted turkey, beef stew, or butternut squash risotto. Their portability also makes them ideal for picnics, bake sales, or as a gift for neighbors during the holidays.
Storage & Make-Ahead Instructions
- Proper storage ensures your bars stay delicious for days.
- Refrigeration: Store cooled bars in an airtight container in the refrigerator for up to 5 days. The crust will soften slightly over time but the flavor remains excellent.
- Freezing for Long-Term Storage: These bars freeze beautifully. Place cut, chilled bars on a parchment-lined baking sheet and freeze until solid (about 2 hours). Then, transfer them to a freezer-safe bag or container, separating layers with parchment. They will keep for up to 3 months. Thaw overnight in the refrigerator.
- Make-Ahead Strategy: This is an ideal make-ahead dessert. Prepare the bars completely, including the overnight chill, 1-2 days before serving. Store the whole slab, covered, in the pan in the fridge. Add the final caramel drizzle and salt garnish just before slicing and serving to keep it looking fresh.
- Avoid Room Temperature: Due to the dairy content, do not leave the bars out at room temperature for more than 2 hours for food safety.
Frequently Asked Questions
Q: Can I use a different type of apple?
A: Yes, but choose wisely. Granny Smiths are recommended for their tartness and structure. If you use a sweeter apple like Honeycrisp or Gala, you may want to reduce the brown sugar in the topping by a tablespoon.
Avoid very soft apples like Red Delicious, as they will turn to mush.
Q: Why did my cheesecake layer crack?
A: Cracks are usually caused by over-mixing the filling (incorporating too much air), over-baking, or a sudden temperature change. Ensure ingredients are at room temperature, mix just until combined after adding eggs, and let the bars cool gradually on a rack before refrigerating.
Q: Can I make these without a mixer?
A: For the crust, absolutely—use a pastry cutter or your fingers. For the cheesecake filling, a mixer is highly recommended to achieve a perfectly smooth consistency. You can use a whisk and vigorous arm power, but ensure the cream cheese is very soft.
Q: My caramel sauce sank to the bottom. What happened?
A: This occurs if the caramel is too thin or warm when added. Use a thick, spoonable caramel sauce and let it cool to room temperature before dolloping it over the apples. A quick swirl, not a deep mix, will help it stay layered.
Q: How do I know when the bars are fully set and ready to cut?
A: The bars must be completely chilled. After the minimum 4-hour refrigeration, gently press the center. It should feel firm, not soft or jiggly.
Overnight chilling is the gold standard for the cleanest cuts.
Q: Can I double the recipe?
A: I don’t recommend doubling it in one pan, as the layers will be too deep and won’t bake evenly. Instead, make two separate batches in two 9×13 pans.
Q: Is there a way to make this recipe lighter?
A: You can use reduced-fat cream cheese, but the texture will be slightly less rich and creamy. The crust and topping modifications would be more complex and are not tested in this version.
Q: The crust crumbled when I cut it. How can I fix this next time?
A: This usually means the crust wasn’t pressed firmly and evenly enough into the pan before baking. Really use the bottom of a measuring cup to compact it. Also, ensure you are using a sharp knife and not a sawing motion when cutting.
Final Thoughts
Creating these Caramel Apple Cheesecake Bars is more than just following a recipe—it’s about crafting a little edible autumn celebration. The process of building the layers, from the sandy crust to the spiced apples, is deeply satisfying, and the result is a dessert that never fails to impress. I’ve refined this recipe through multiple tests to ensure it’s reliable, so you can bake with confidence.
Whether it’s for Thanksgiving, a fall party, or just a treat for your family, these bars deliver on every promise of flavor and texture. I’d love to hear how your batch turns out! Share your creations with me online, and if you enjoyed this recipe, explore my site for more professional-tested desserts designed for the home cook.
Happy baking

Caramel Apple Cheesecake Bars
- Author: Charlotte
- Prep Time: 30 minutes
- Cook Time: 45 minutes
- Total Time: 1 hour 15 minutes
- Yield: 16 servings
- Category: Dessert
- Cuisine: American
Description
These decadent bars feature a buttery shortbread crust, a smooth vanilla cheesecake layer, a spiced apple topping, and a generous drizzle of salted caramel. Perfect for fall gatherings and holiday dessert tables.
Ingredients
Instructions
-
Preheat your oven to 350°F (175°C). Line a 9x13-inch baking pan with parchment paper, leaving an overhang on the long sides for easy removal. In a food processor or large bowl, combine the 2 cups flour, 1/2 cup granulated sugar, and salt. Pulse or cut in the cold, cubed butter until the mixture resembles coarse crumbs and holds together when pinched. Press this mixture firmly and evenly into the bottom of your prepared pan. Bake for 18-20 minutes, or until the edges are just beginning to turn a light golden brown. Remove from the oven and let it cool slightly while you prepare the filling. Trust me, a properly baked and cooled crust is the foundation that prevents a soggy bottom.
-
In the bowl of a stand mixer fitted with the paddle attachment (or using a hand mixer), beat the room-temperature cream cheese on medium speed until completely smooth and creamy, about 2 minutes. Scrape down the bowl. Add the 1/2 cup granulated sugar and beat again until fully combined. Add the eggs one at a time, beating well after each addition and scraping the bowl. Finally, beat in the vanilla extract until just incorporated. Tip from me: Over-beating after adding the eggs can incorporate too much air, leading to cracks. Pour this filling over the warm (not hot) crust and spread it into an even layer.
-
In a medium skillet over medium heat, melt the 2 tablespoons of butter. Add the diced apples and cook, stirring occasionally, for 3-4 minutes until they just begin to soften. In a small bowl, whisk together the brown sugar, cinnamon, nutmeg, and 1 tablespoon of flour. Sprinkle this spice mixture over the apples in the skillet and cook for another 1-2 minutes, stirring constantly, until the sugar melts and coats the apples. The flour will help thicken any juices. Remove from heat and let cool for 5 minutes.
-
Now comes the fun part—layering. Spoon the slightly cooled spiced apple mixture evenly over the cheesecake layer. Don't press down. Then, dollop the 3/4 cup of caramel sauce in small spoonfuls over the apples. Use a knife or the back of a spoon to gently swirl the caramel into the apples, just a few times. You want beautiful ribbons, not a muddy mix. Believe me, this creates pockets of gooey caramel in every bite.
-
Bake the bars in the preheated 350°F oven for 35-40 minutes. The cheesecake is done when the edges are set but the center still has a slight, gentle jiggle—it will firm up as it cools. Over-baking is the enemy of creamy cheesecake. Remove from the oven and place the pan on a wire rack. Let cool completely at room temperature, then refrigerate for at least 4 hours, preferably overnight, to fully set. This patience is non-negotiable for clean slices.
-
Using the parchment paper overhang, carefully lift the entire slab of bars out of the pan and onto a cutting board. Drizzle with additional caramel sauce and sprinkle with flaky sea salt if desired. Use a large, sharp knife to cut into squares, wiping the blade clean with a hot, damp cloth between cuts for pristine edges. Step back and admire your masterpiece before serving chilled.
Notes
- Chef's Tips:
- For the cleanest cuts, chill the bars overnight and use a hot, wet knife.
- A common mistake is using apples that are too soft; Granny Smiths hold their shape and provide necessary tartness.
- Serve these bars chilled straight from the fridge for the best texture and flavor.
- Food Safety:
- Ensure cheesecake bars are refrigerated within 2 hours of baking and kept chilled until serving.
- Store leftovers in an airtight container in the refrigerator.


